Frames
Frames are the sections within the player window that actively display bookings. This means that one screen is able to show two or more bookings at the same time, in independent loops.
Creating & Editing Frames
When a device is registered, a default frame is created and is set to fullscreen.
To create and edit Frames on a device, click on the 'Devices' tab in the menu on the left-hand side of the screen.
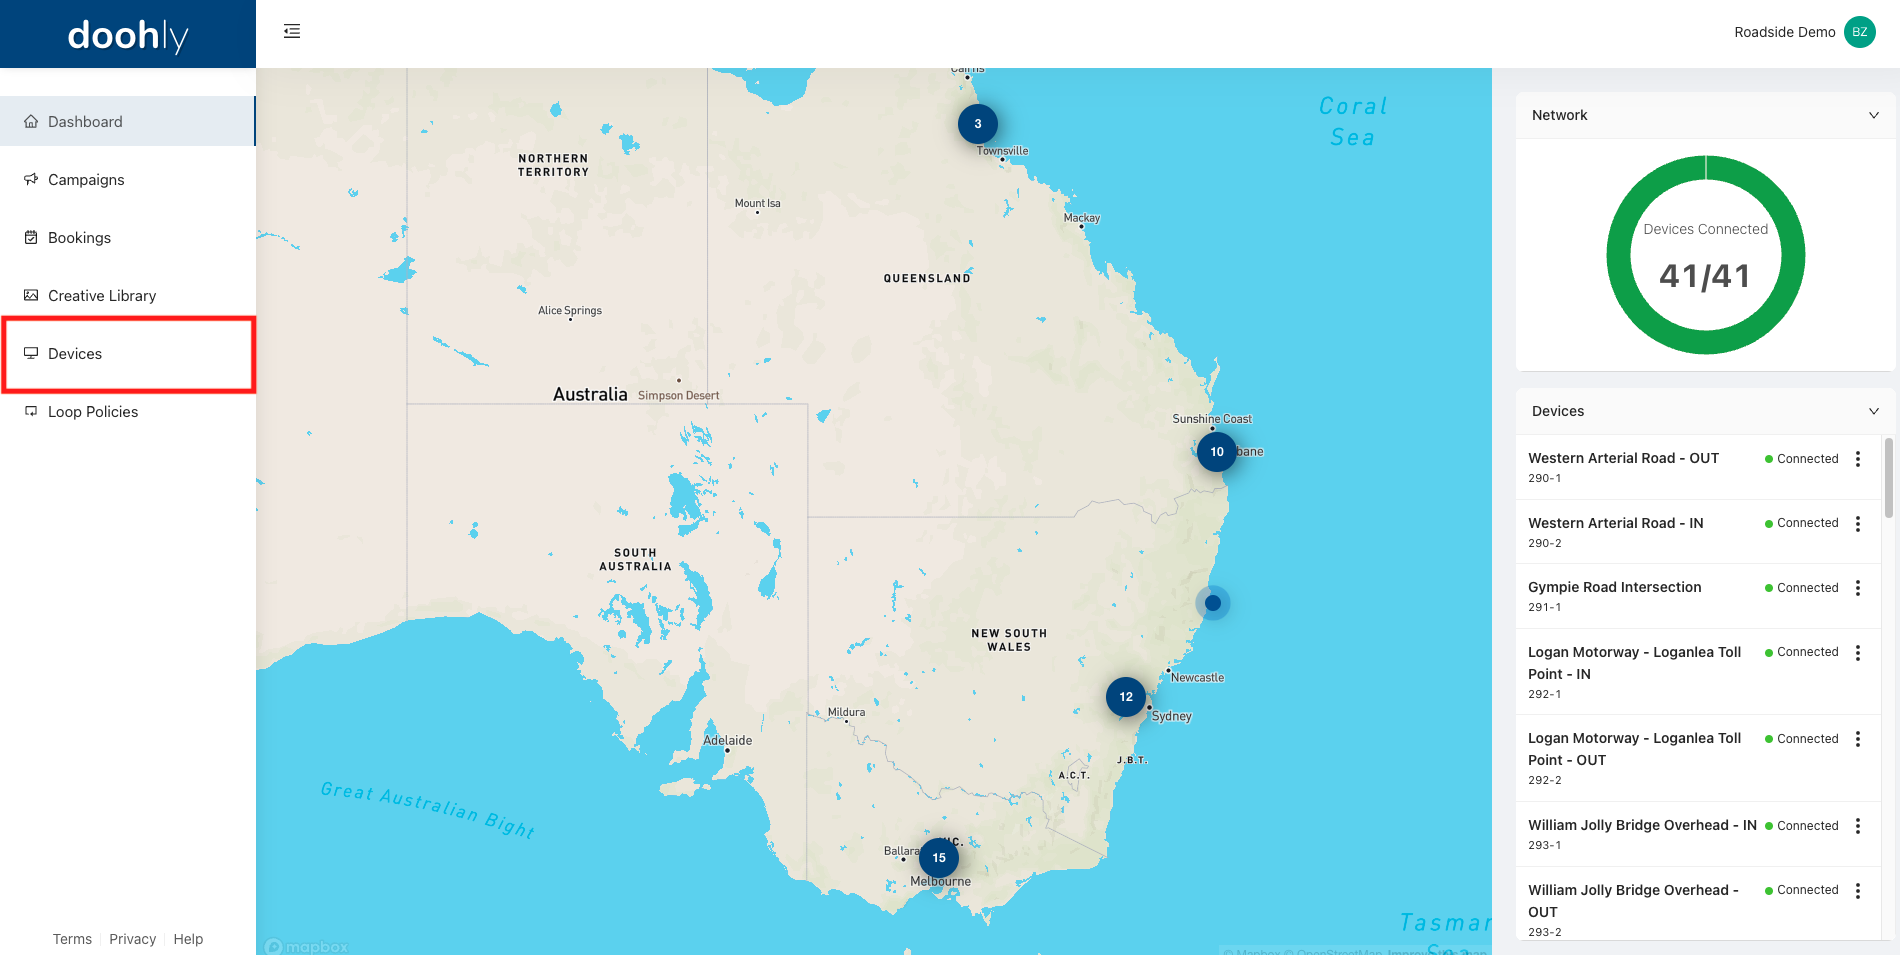
From the 'Devices' menu, select the device you want to set up/edit the Frames of.
Once the device has been selected, click 'Frames' at the top to access the frames menu.

Adding Frames
Within the 'Frames' section is where you can add frames. When registering a device, a frame named 'Default' will take up the entirety of the window. You can edit or delete this frame with the buttons on the right-hand side.
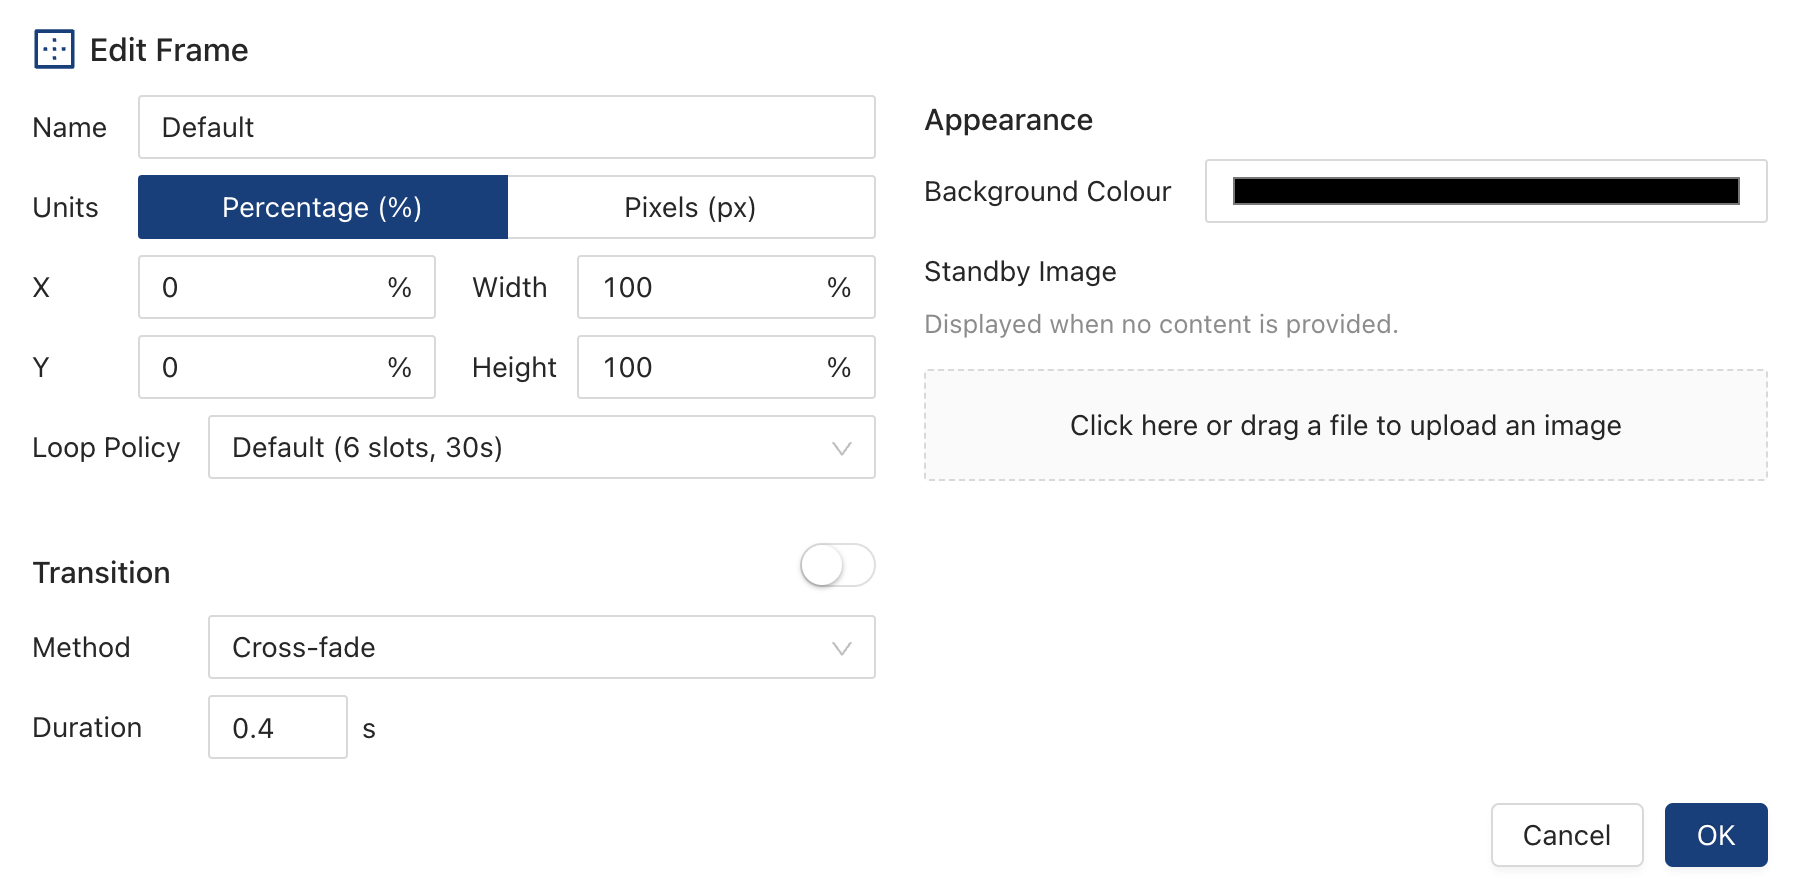
To create a new frame, hit the 'New Frame' button. From here, you will be asked to enter a name for the frame, its size, and its starting location. Both the size and location can be entered in either pixels or as a percentage of the window size.
You can also assign a 'Background Colour' for the frame, along with a 'Standby Image'. The 'Background Colour' will be shown whenever a creative that is playing is smaller than the frame. A 'Standby Image' is an image that will only show when no bookings or campaigns are scheduled to the frame and when the device is outside of operating hours.
Frames Across Multiple Screens
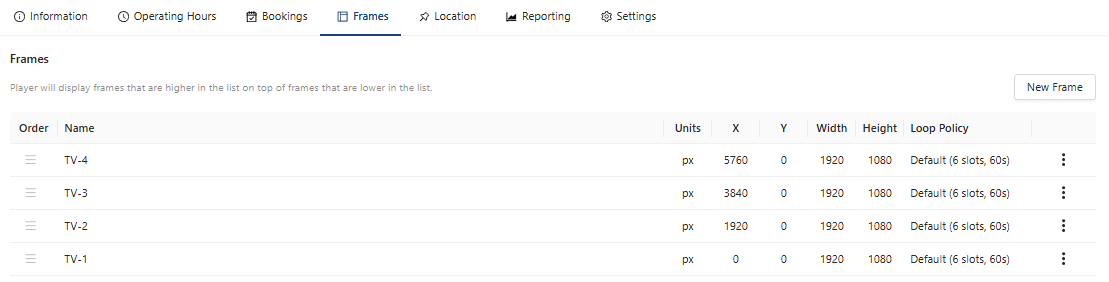
If you are operating multiple frames via a single device, you can use the X and/or Y functions to determine the starting point of each frame.
An example of this might be screens behind a counter, if panels are running lengthways, TV-1 will start at 0, and TV-2 may start at 1920, example below:
Multiple Frames Within A Single Screen
It is also possible to create multiple frames on a single screen. In the example below, the screen is 1080x1920 and has been sectioned to display new content on the bottom with advertising in the top portion.

Loop Policies
You can also set the 'Loop Policy' of this particular frame; the loop policy determines how many slots are available and how long content will be shown per slot.
Finally, you can enable 'Transitions' for this particular frame, a transition plays between content. Here, you can set the length of the transition and the type of transition.
Note: The order of the frames is important. Frames higher on the list will show in front of frames that are lower on the list. This means you will need to ensure that you order frames in the correct manner for your requirements.
Assign Bookings To Frames
To ensure that content is being played, bookings must be individually assigned to the frame/s they wish to be displayed on.
To assign bookings to Frames, click 'Bookings' on the far left menu.
From here, select the booking you wish to assign to a frame/s or create an entirely new booking.
Once you have set up your bookings creatives and the time and days you wish for them to be shown, click on frames along the top.
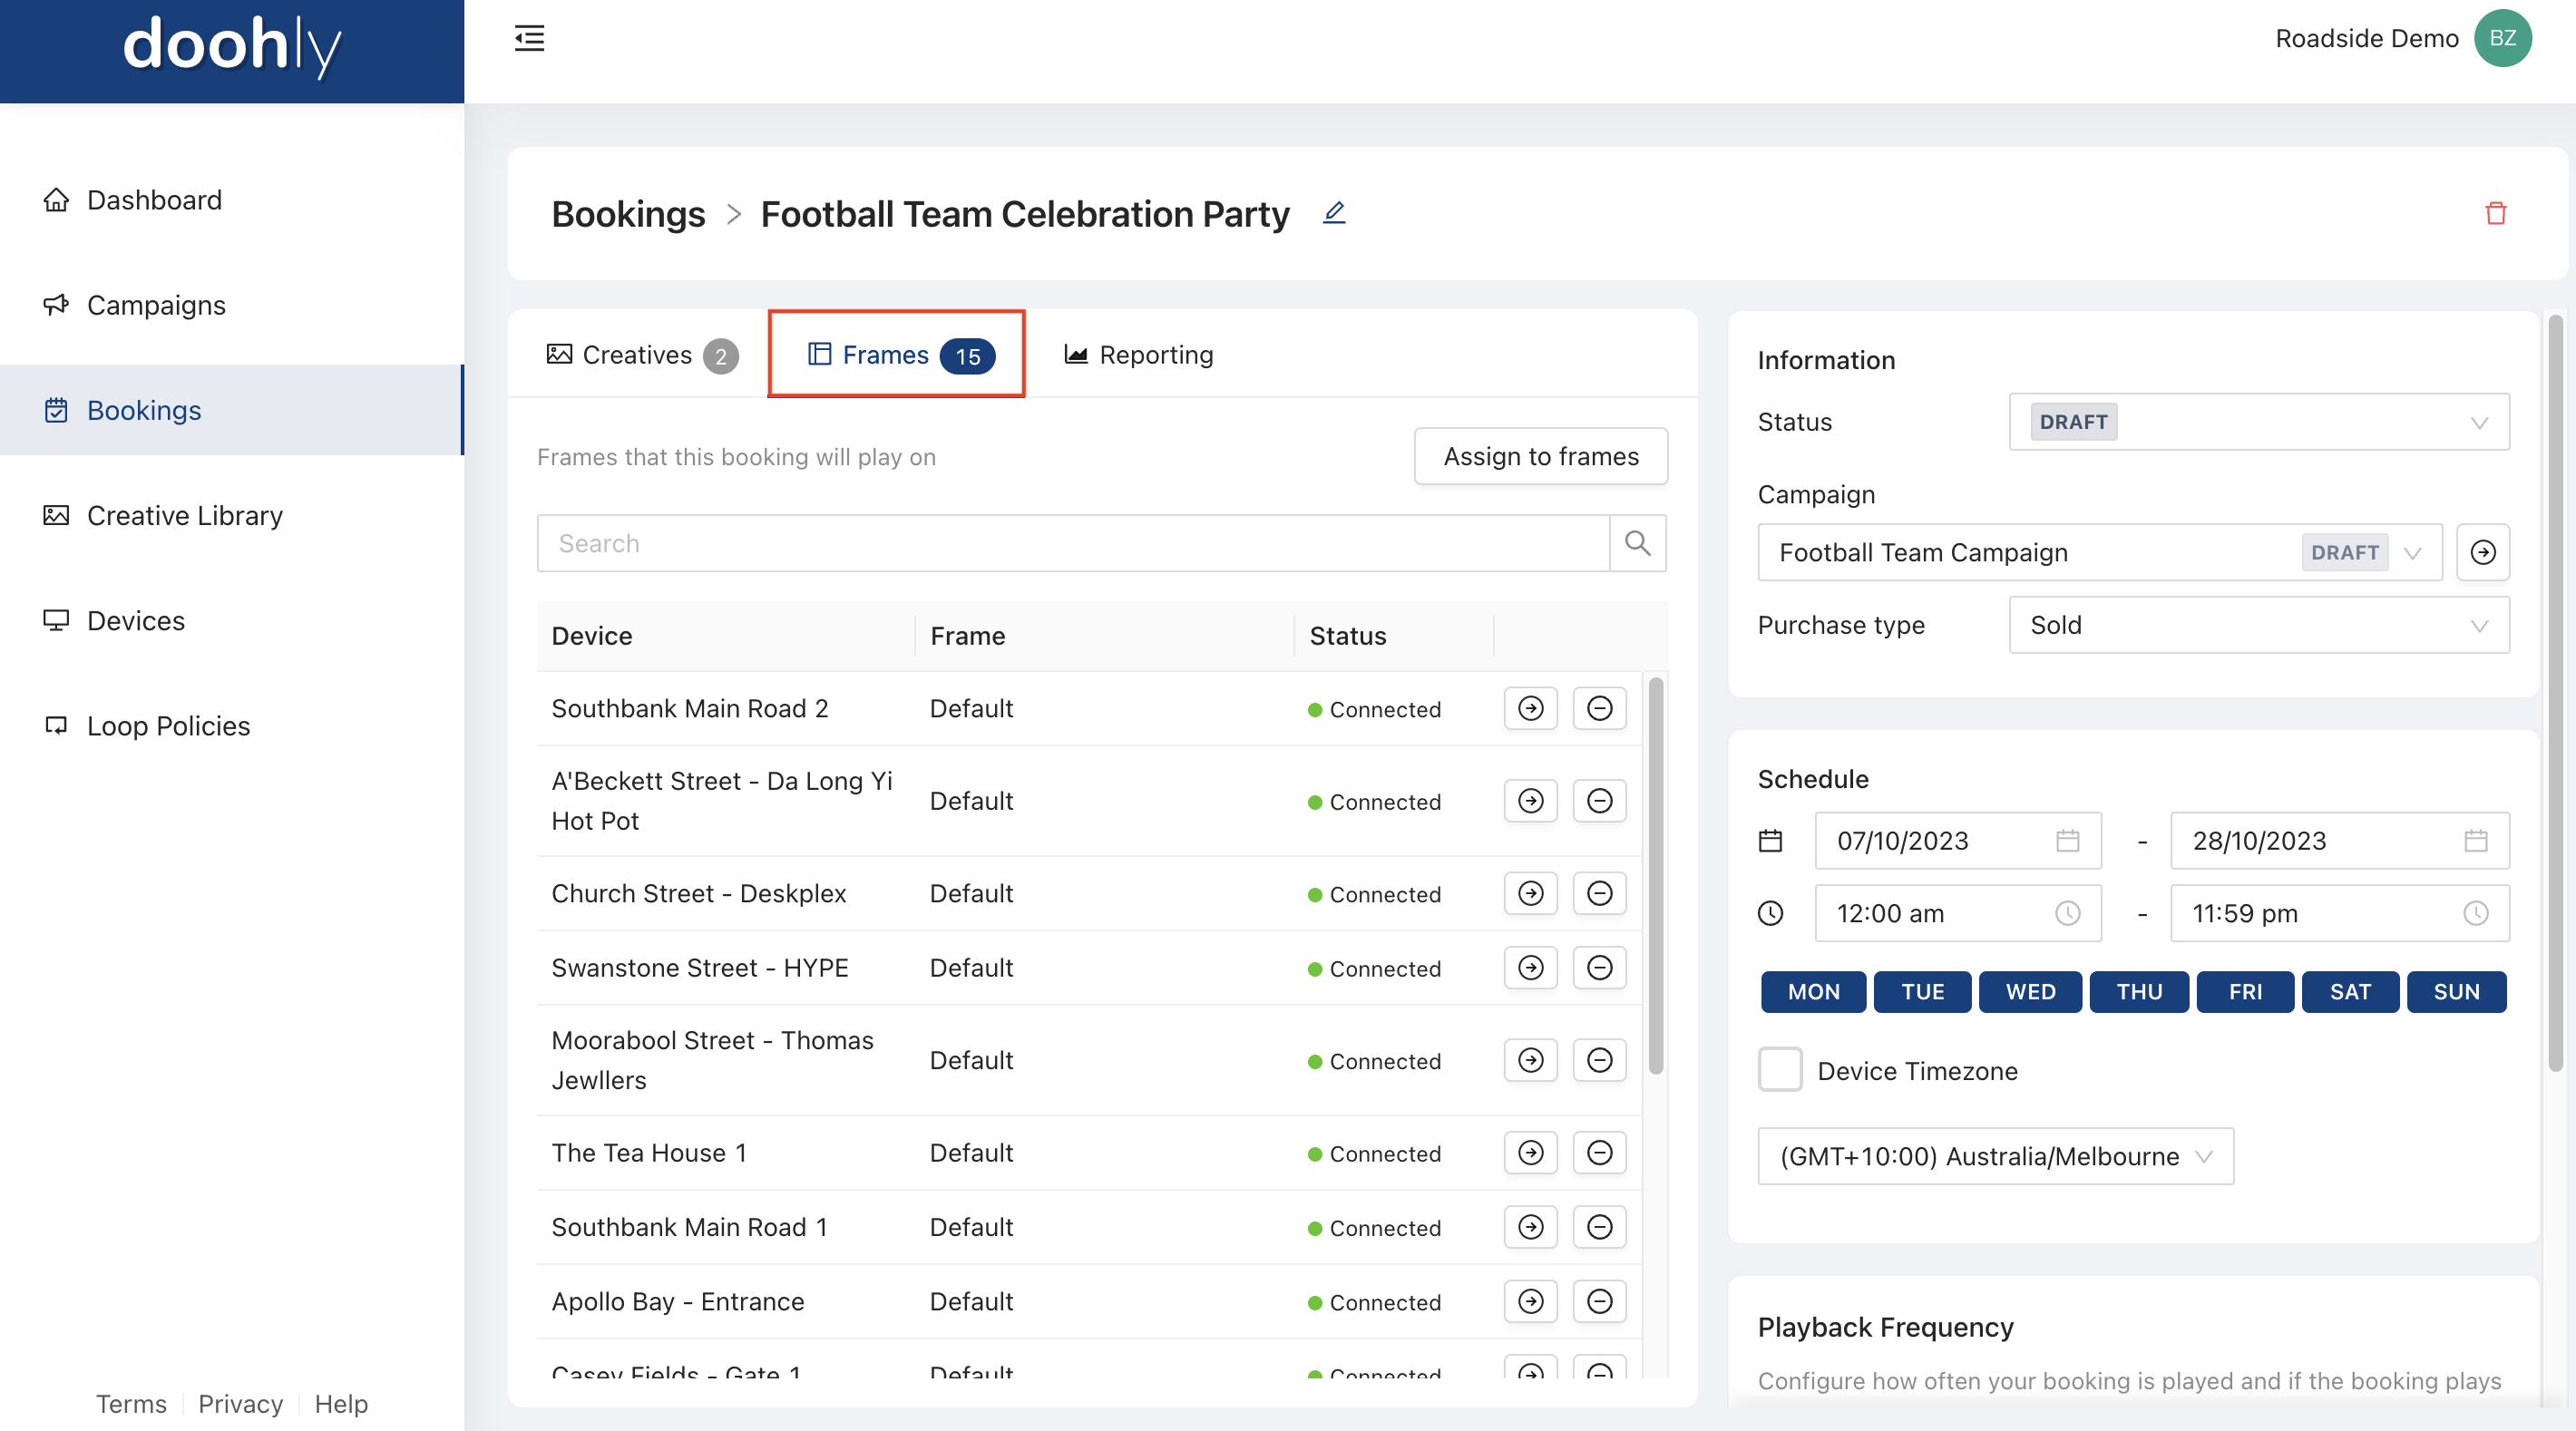
Once in the frames menu, select 'Assign Frames', and the following prompt will appear.
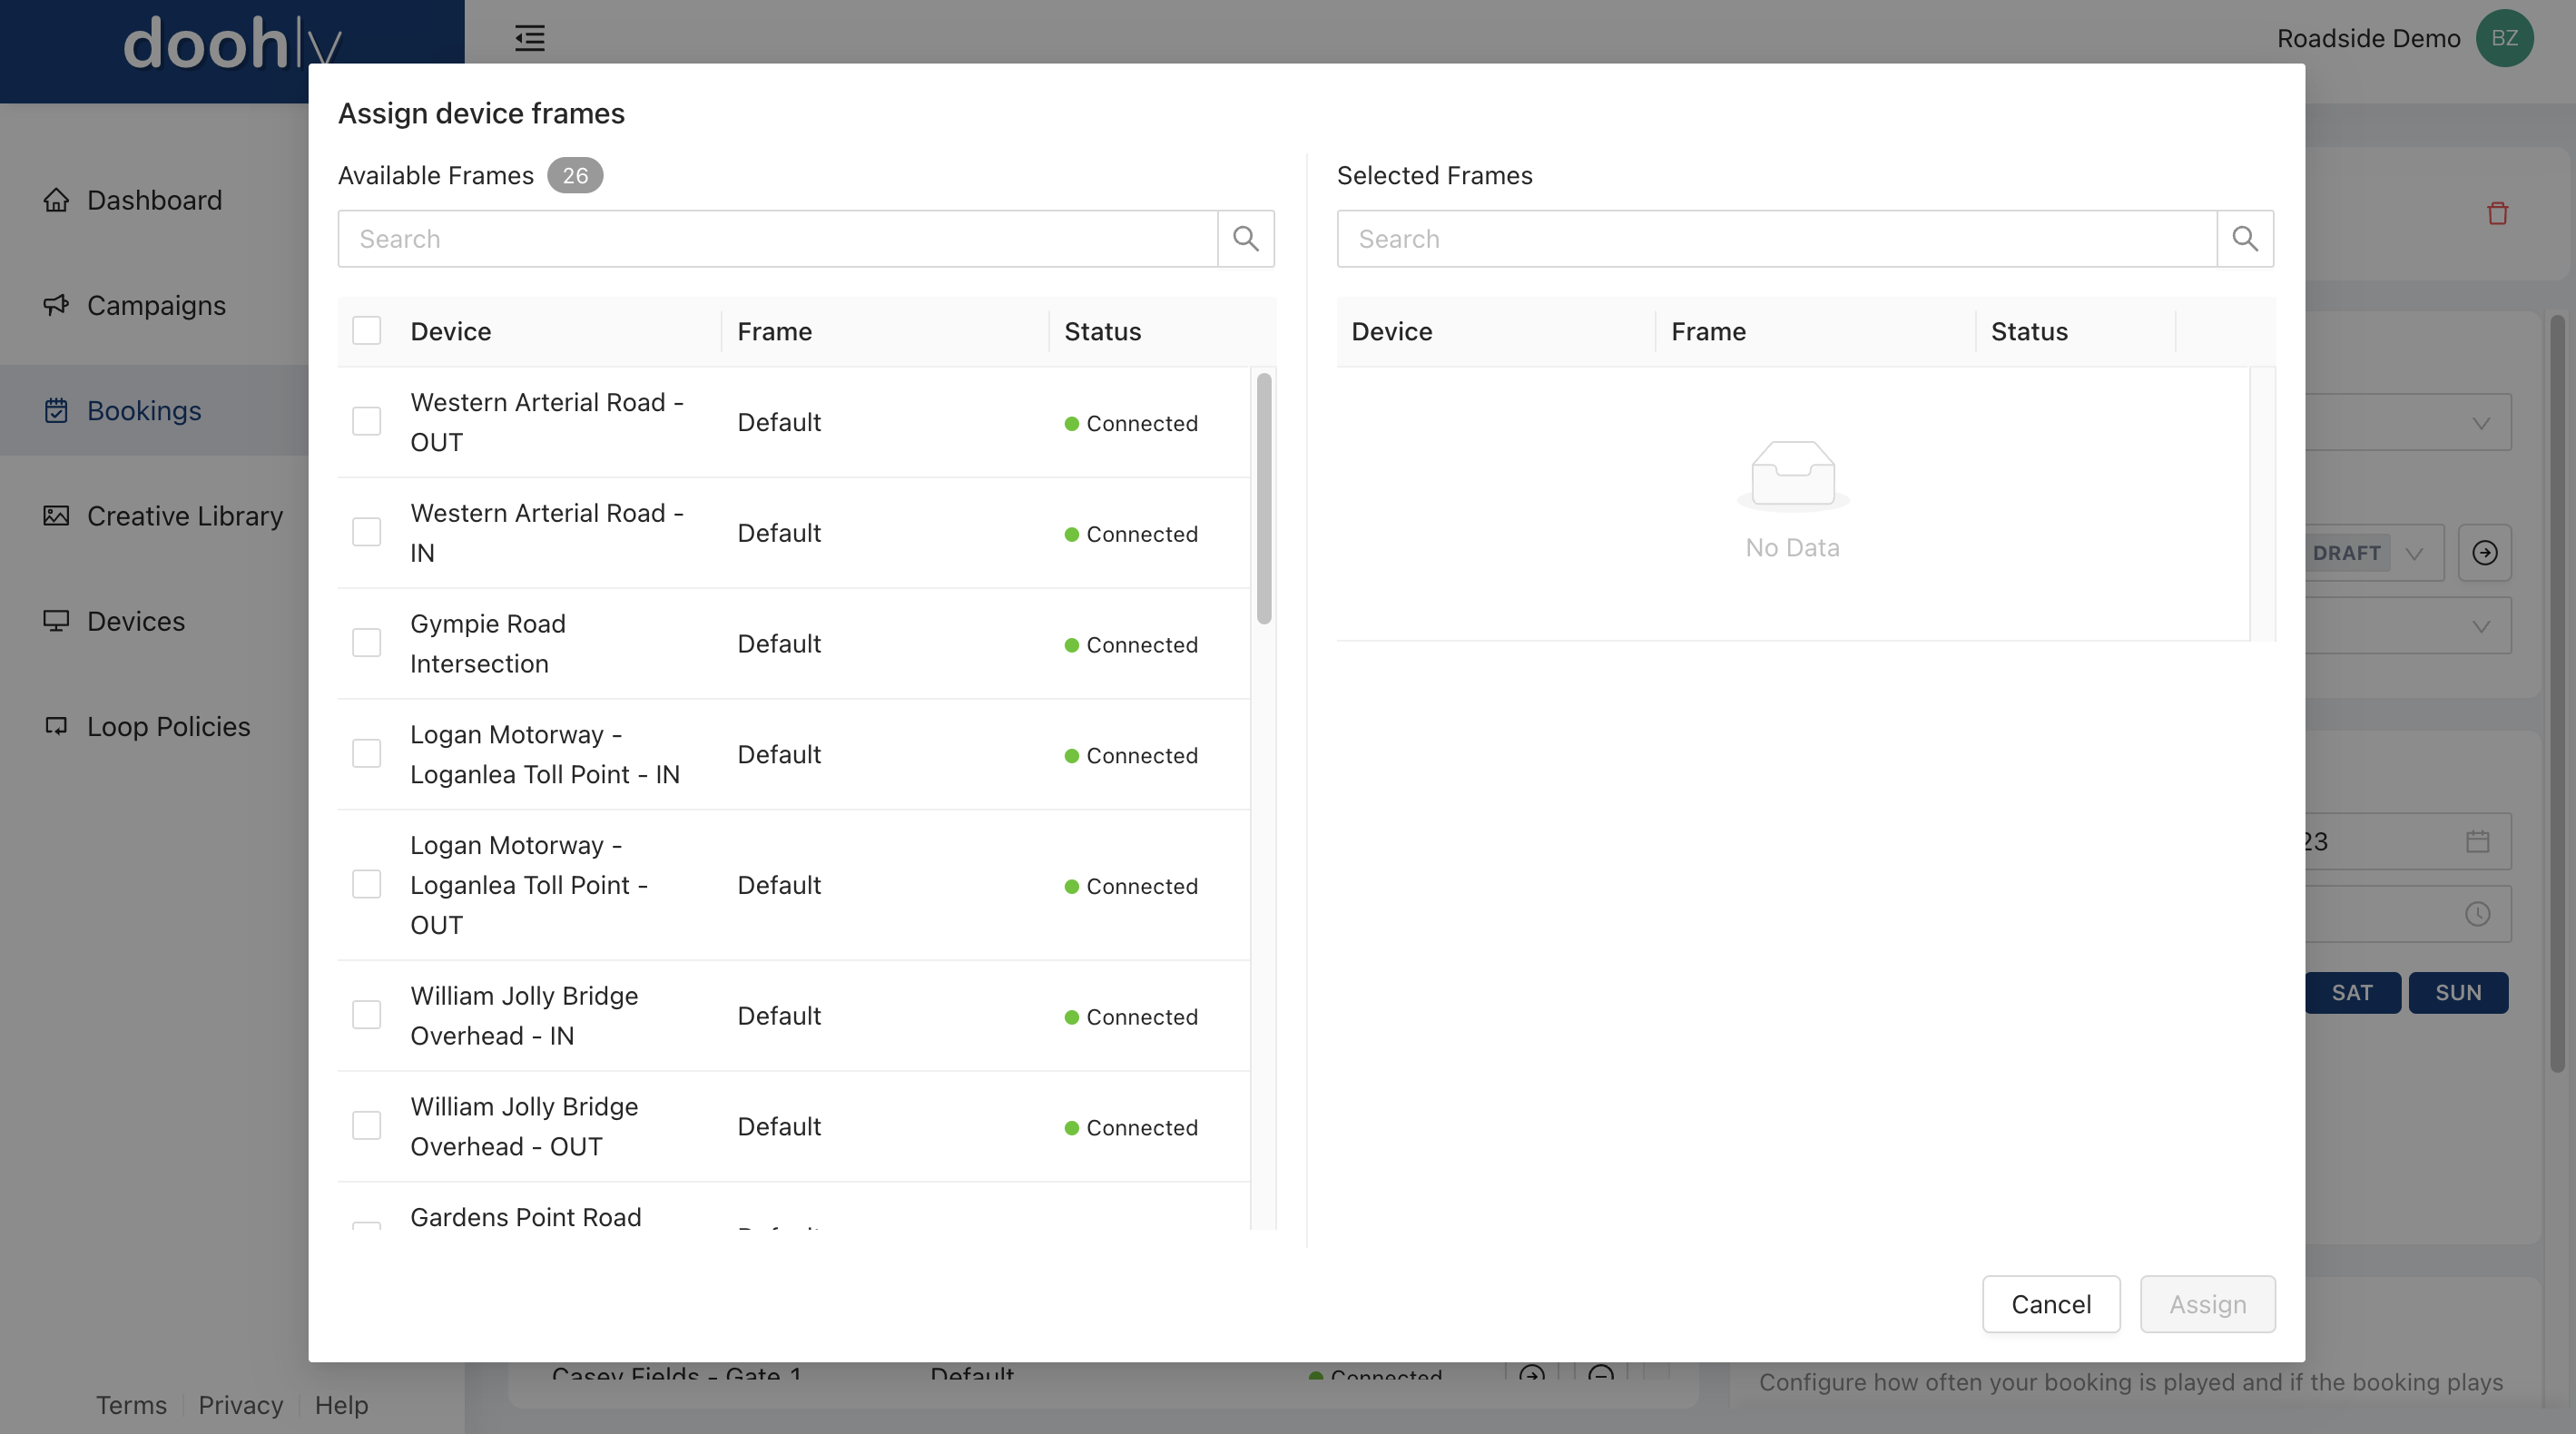
From here, you can see all the available frames. They are listed and shown with the:
- Device Name,
- Frame Name, and
- Status.
You can find the frame you want to use by searching for either the frame name or the device name. To select the frame, simply check the box on the left, and the frame will appear in the 'Selected Frames' menu on the right.
If you have any further questions or need assistance, please contact our Support Team: [email protected]
Updated over 1 year ago