Product Category Overview
What Are Product Categories?
Product Categories are similar to tags - they’re a way to organise and categorise specific campaigns. Product Categories have been determined by governing advertising bodies and are applicable to all brands.
Product Categories In Doohly
Doohly supports Product Categories for campaigns, which can have specific Product Categories assigned to them.
There is no limit on the type or number of Product Categories a campaign or booking can have.
For example, a campaign could have the Product Category of Video Gaming, whilst also having Video Gaming > Console Games & Video Gaming > Video Game Genres > Action Video Games.

Creating Product Categories
Before adding Product Categories to campaigns and bookings, they must be added to your organisation.
To add Product Categories to your organisation, simply click on your account in the top right and select “Settings”.
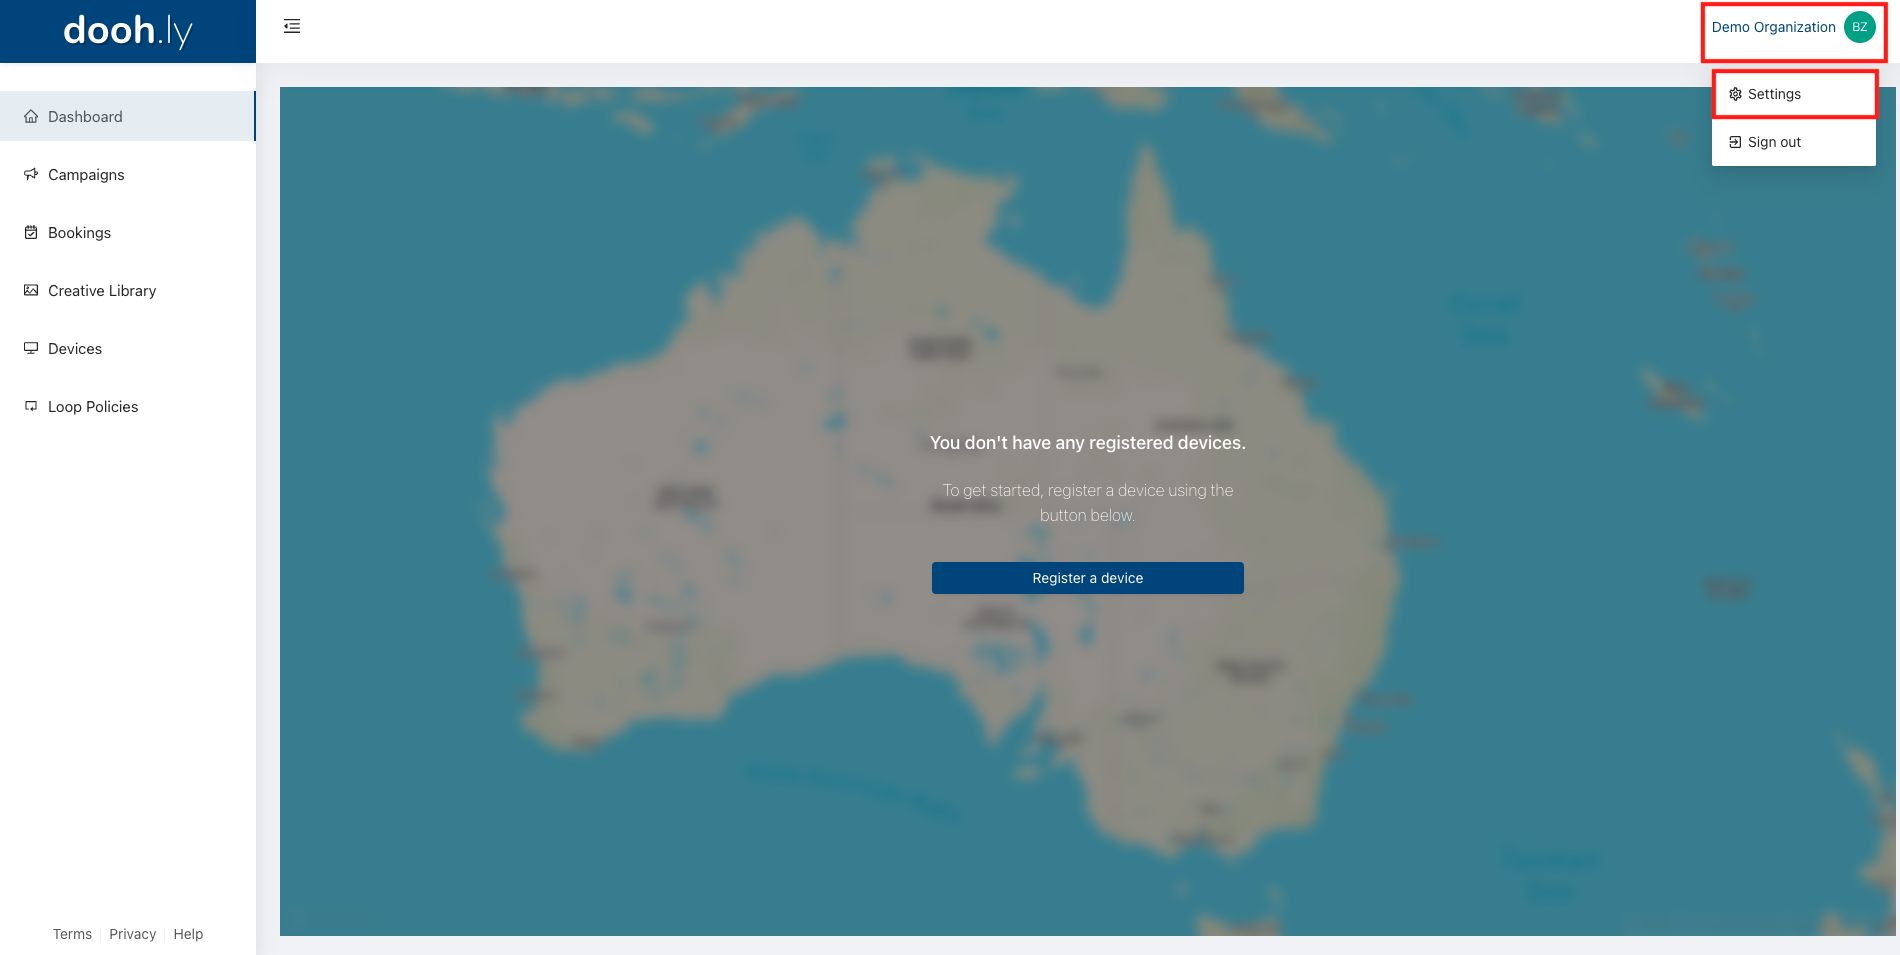
Once in the “Settings” menu, select “Product Categories”. From here you will be able to add, edit and remove desired Product Categories for use across your entire organisation. This includes other users who have access via their own accounts.
Standard Product Categories
When you first set up Product Categories, you will able to use a predetermined list as a base and make changes as you see fit.
Note: You do not have to use one of the lists, they are optional
Currently, there are three lists that can be selected:
• Interactive Advertising Bureau (AU)
• Standard Media Index (AU)
• Standard Media Index (NZ)
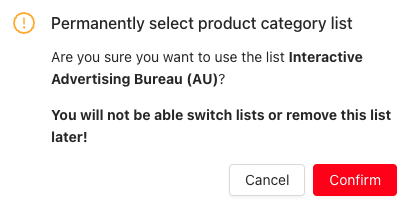
Once you’ve chosen one of the above lists, this selection cannot be changed. You can still add, edit and disable these Product Categories, but you cannot replace the base list you’ve chosen with another.
Note: When disabling Product Categories from these predetermined lists, they can be reenabled at a later date and are not deleted.
Custom Product Categories
When setting up Product Categories, you can use also create your own custom categories. If you choose to use custom Product Categories you will have to create all the ones you wish to use manually. You can also create your own custom sub-categories.
Assigning Product Categories
Once you’ve set up Product Categories for your organisation, you will be able to add them to specific campaigns as needed.
To add Product Categories to a campaign, simply head to the specific campaign you wish to update and click on the Product Categories search bar in the information panel. Once here you can search for the specific Product Categories and select them by clicking.
If a Product Category is selected, a checkmark will appear at the end of the name.

Product Categories can only be changed if the status of a campaign is set to “Draft”, “Active” or “Paused”. It’s also important to hit “Save” after selecting the Product Categories for changes to take effect.
Deleting & Disabling Product Categories
If you have chosen to use a predetermined Product Categories list, you will only be able to disable, not delete, these predetermined categories.
If you disable a specific category, you will still be able to reenable it in the future if needed. In the case of custom Product Categories, these can either be deleted entirely or simply disabled.
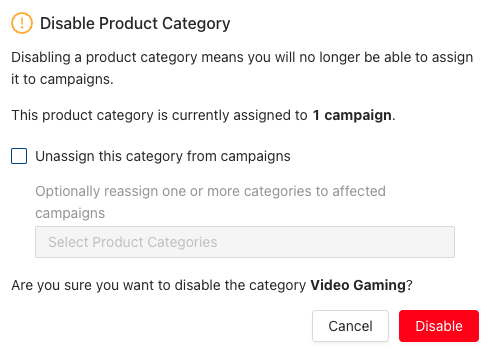
When disabling/deleting Product Categories, you will get prompted with many how campaigns this category is assigned to. This number will also include completed and archived campaigns.
If you are deleting a category with sub-categories, the prompt will also tell you how many campaigns the sub-categories are assigned to.
When disabling a Product Category you will be prompted with the option to remove it from any campaigns that it was already assigned to.
When disabling or deleting a Product Category you will also be asked whether you want to reassign other Product Categories to campaigns in its place.
Once a Product Category is disabled/deleted you will not be able to assign it to other campaigns.
Updated over 1 year ago