Enabling Seedooh
Thanks to the Doohly - Seedooh integration, play data can now be verified through a third party, ensuring data is accurately reported.
Before getting started, you will need to ensure that you have:
- A Seedooh Account
- A Seedooh API Token
Configuring Seedooh For A Booking
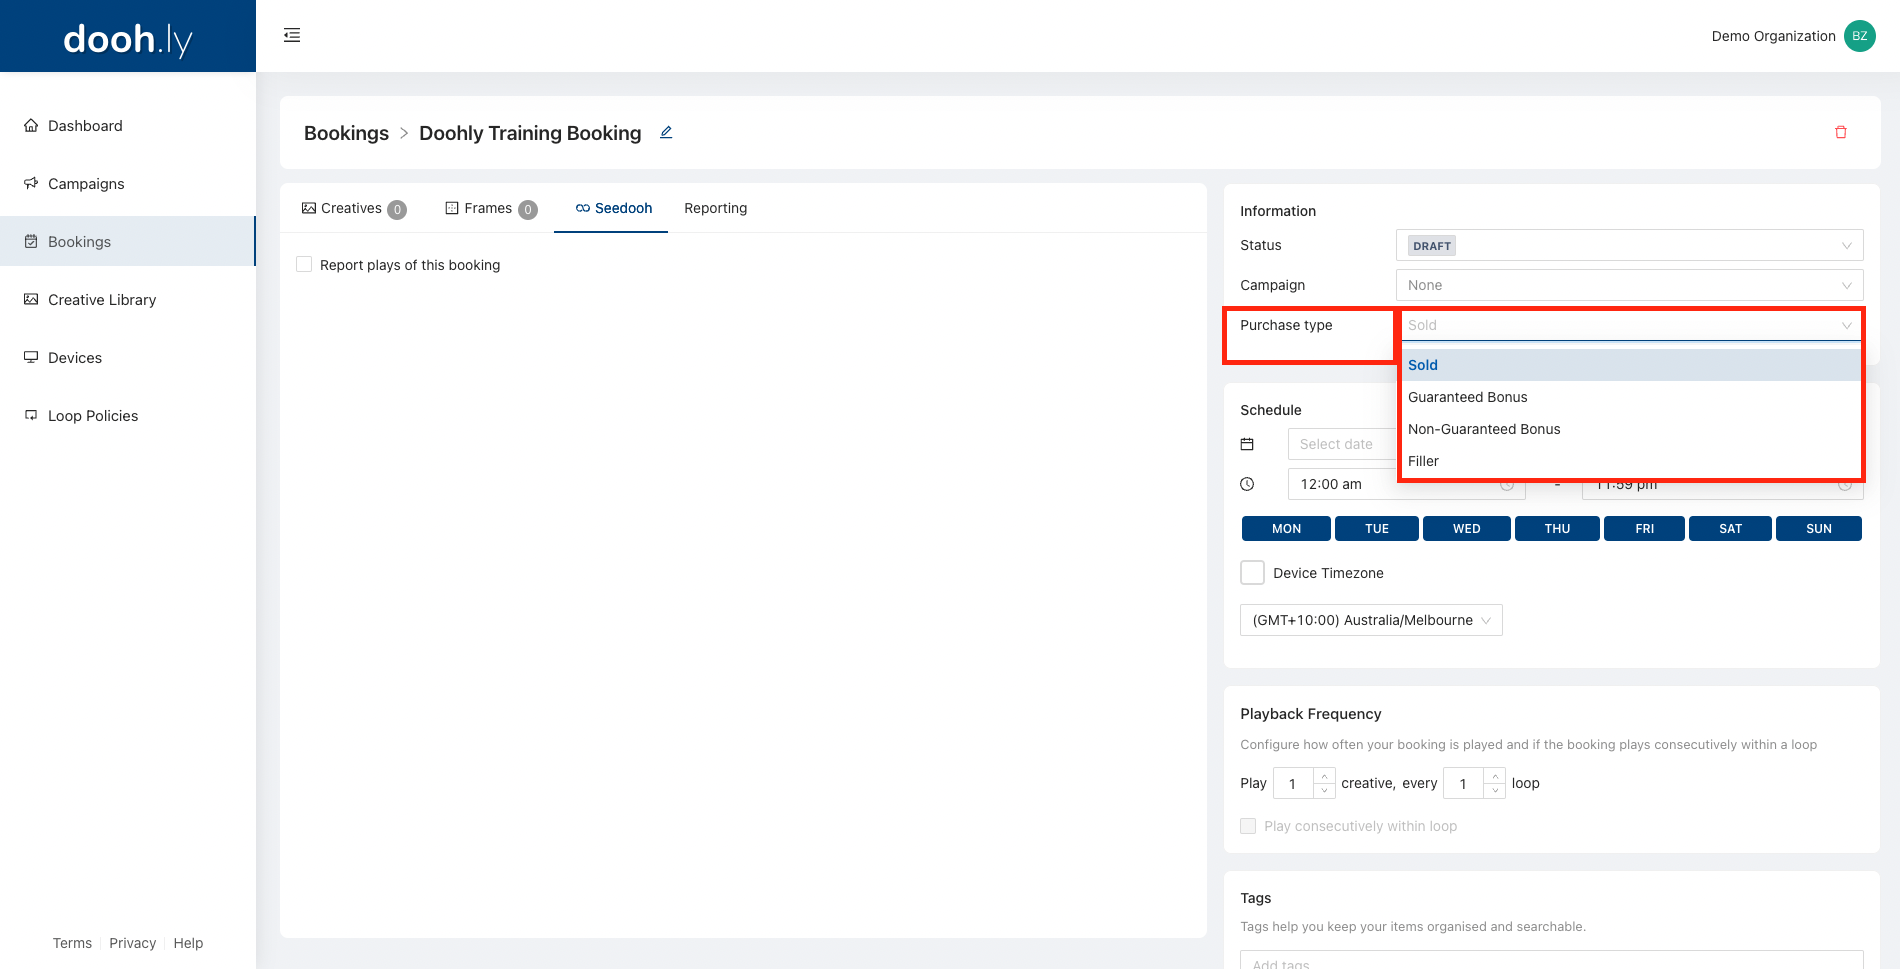
Open the booking you wish to configure for Seedooh reporting.

Once in the booking detail screen, you can open the “Seedooh” tab to view the current configuration.
In this tab you have the option of enabling/disabling reporting to Seedooh for this booking. When enabled, plays for this booking will be reported to Seedooh.
Newly created bookings will default to having “Report plays of this booking” enabled.
Note: If plays for this booking aren't being reported ensure you’ve also enabled reporting to Seedooh for the campaign & frames associated to this booking.
You can also set the “Purchase Type” from the available options:
- Sold
- Guaranteed Bonus
- Non-Guaranteed Bonus
- Filler
The default option for bookings is “Sold”.
To disable Seedooh, simply uncheck the “Report plays of this booking” box. This booking information will no longer be sent to and verified by Seedooh.
Configure Seedooh For A Campaign
Both new campaigns and exisiting campaigns can be updated to send information to Seedooh for verification.
Select the campaign you wish to verify with Seedooh, or create a new campaign (both menus are identical). Along the top, select “Seedooh” to enter the Seedooh menu. Now, check the “Report plays of this Campaign” button.
You can now set the “Contract ID”, or leave it blank, if left blank it will be automatically generated for you.
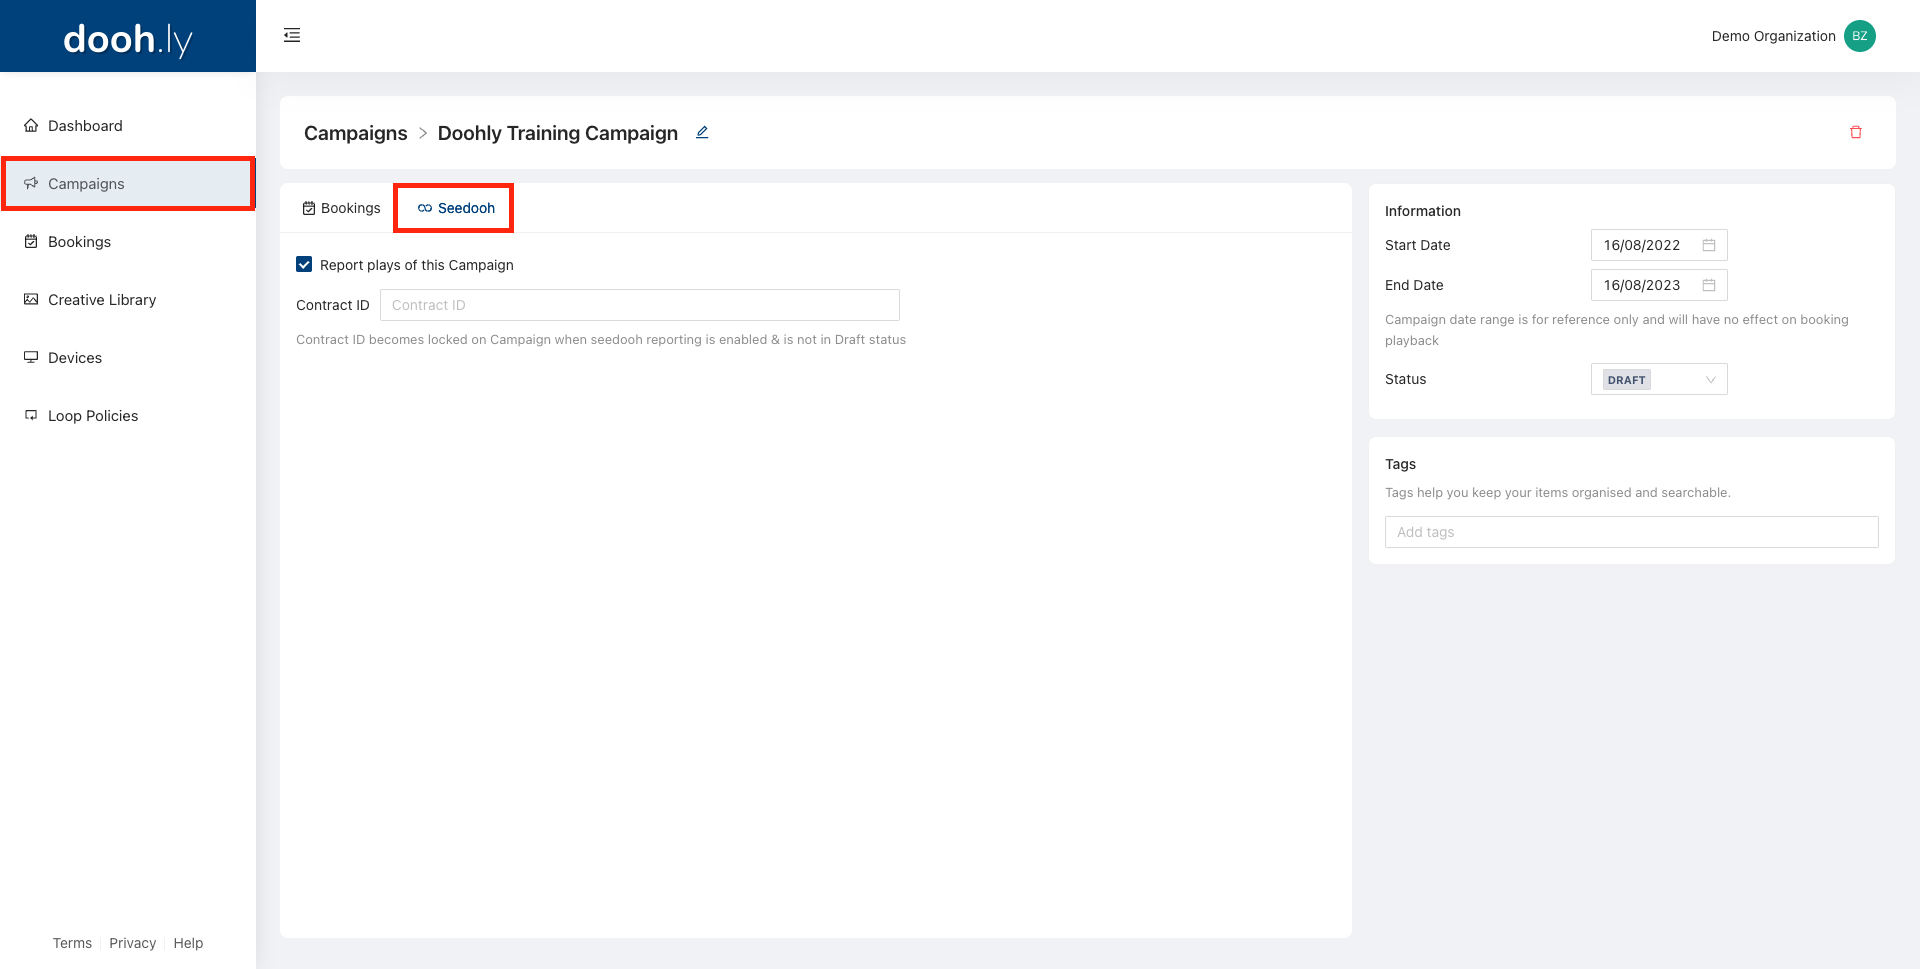
Note: The “Contract ID” is locked and cannot be changed once a campaign is moved out of the “Draft” status.
Configure Seedooh For A Device
Select the device you wish to configure Seedooh reporting for, once in the device-specific menu, select “Seedooh” along the top menu. From here you can set the devices “Category”. Existing devices will not have a default category.
Note: These options are specified by Seedooh and are the OMA standardised categories.
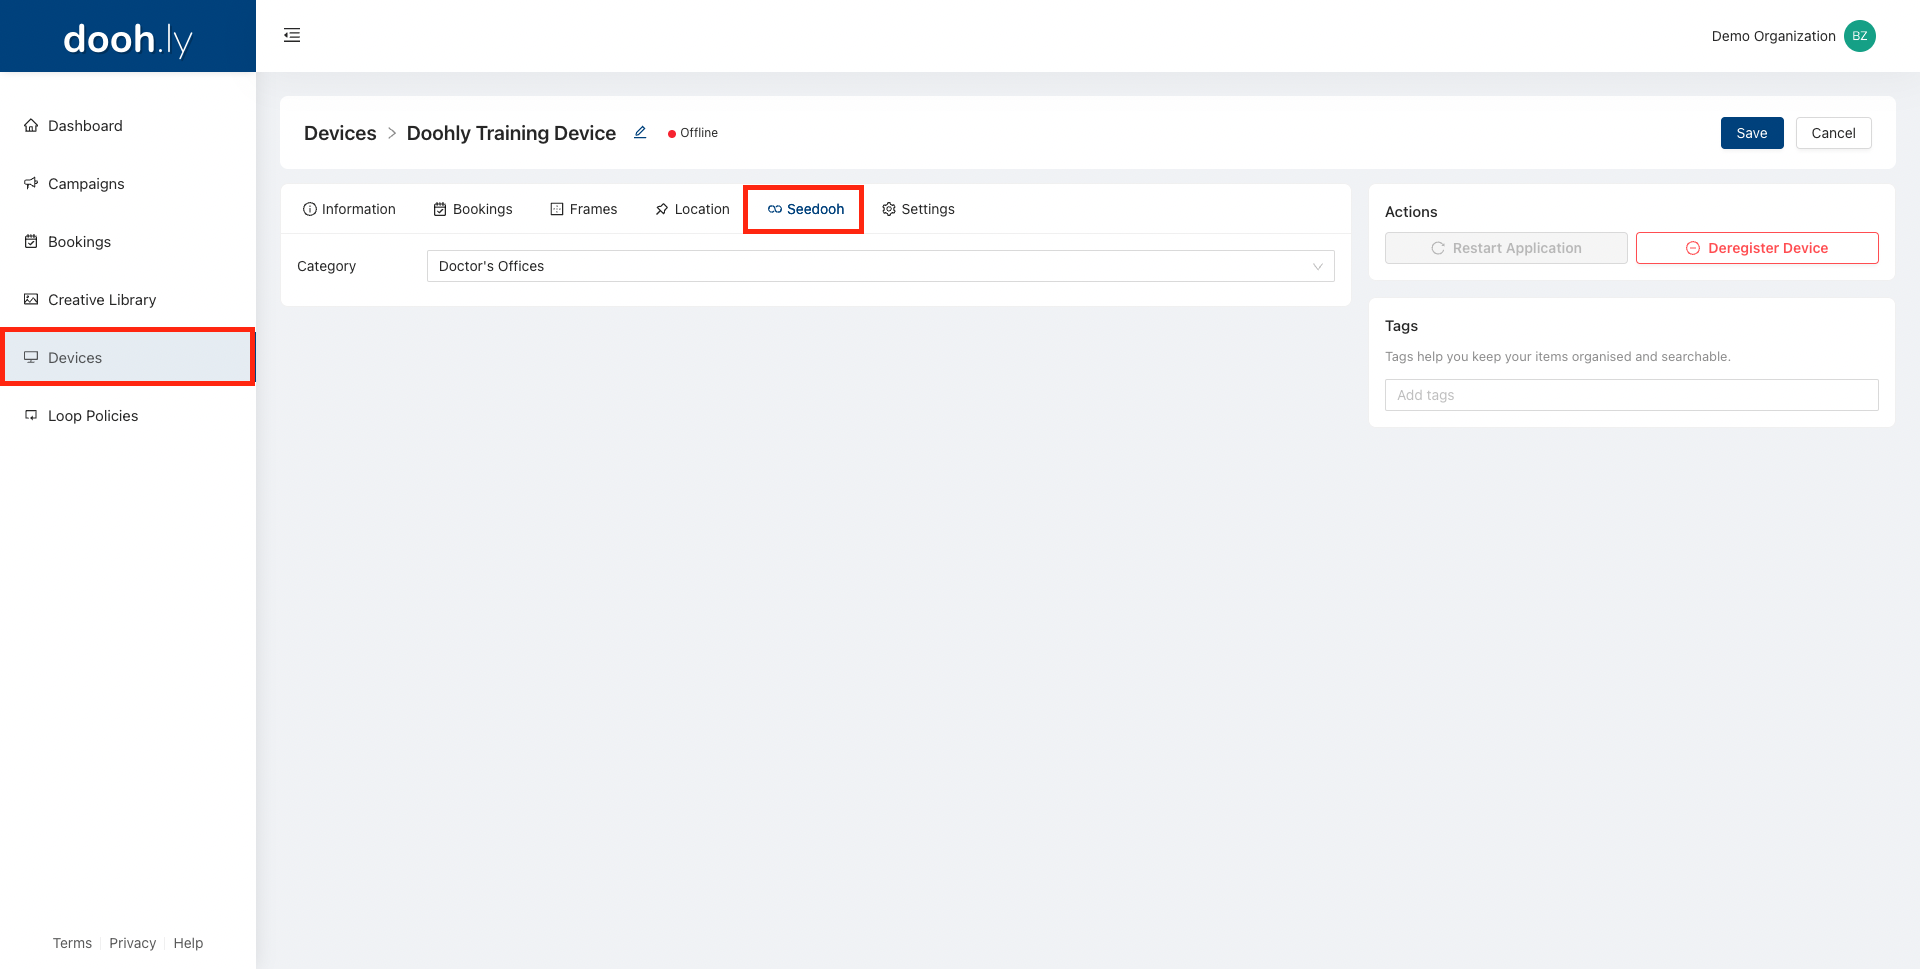
For the changes to take effect, make sure to hit “Save” in the top right.
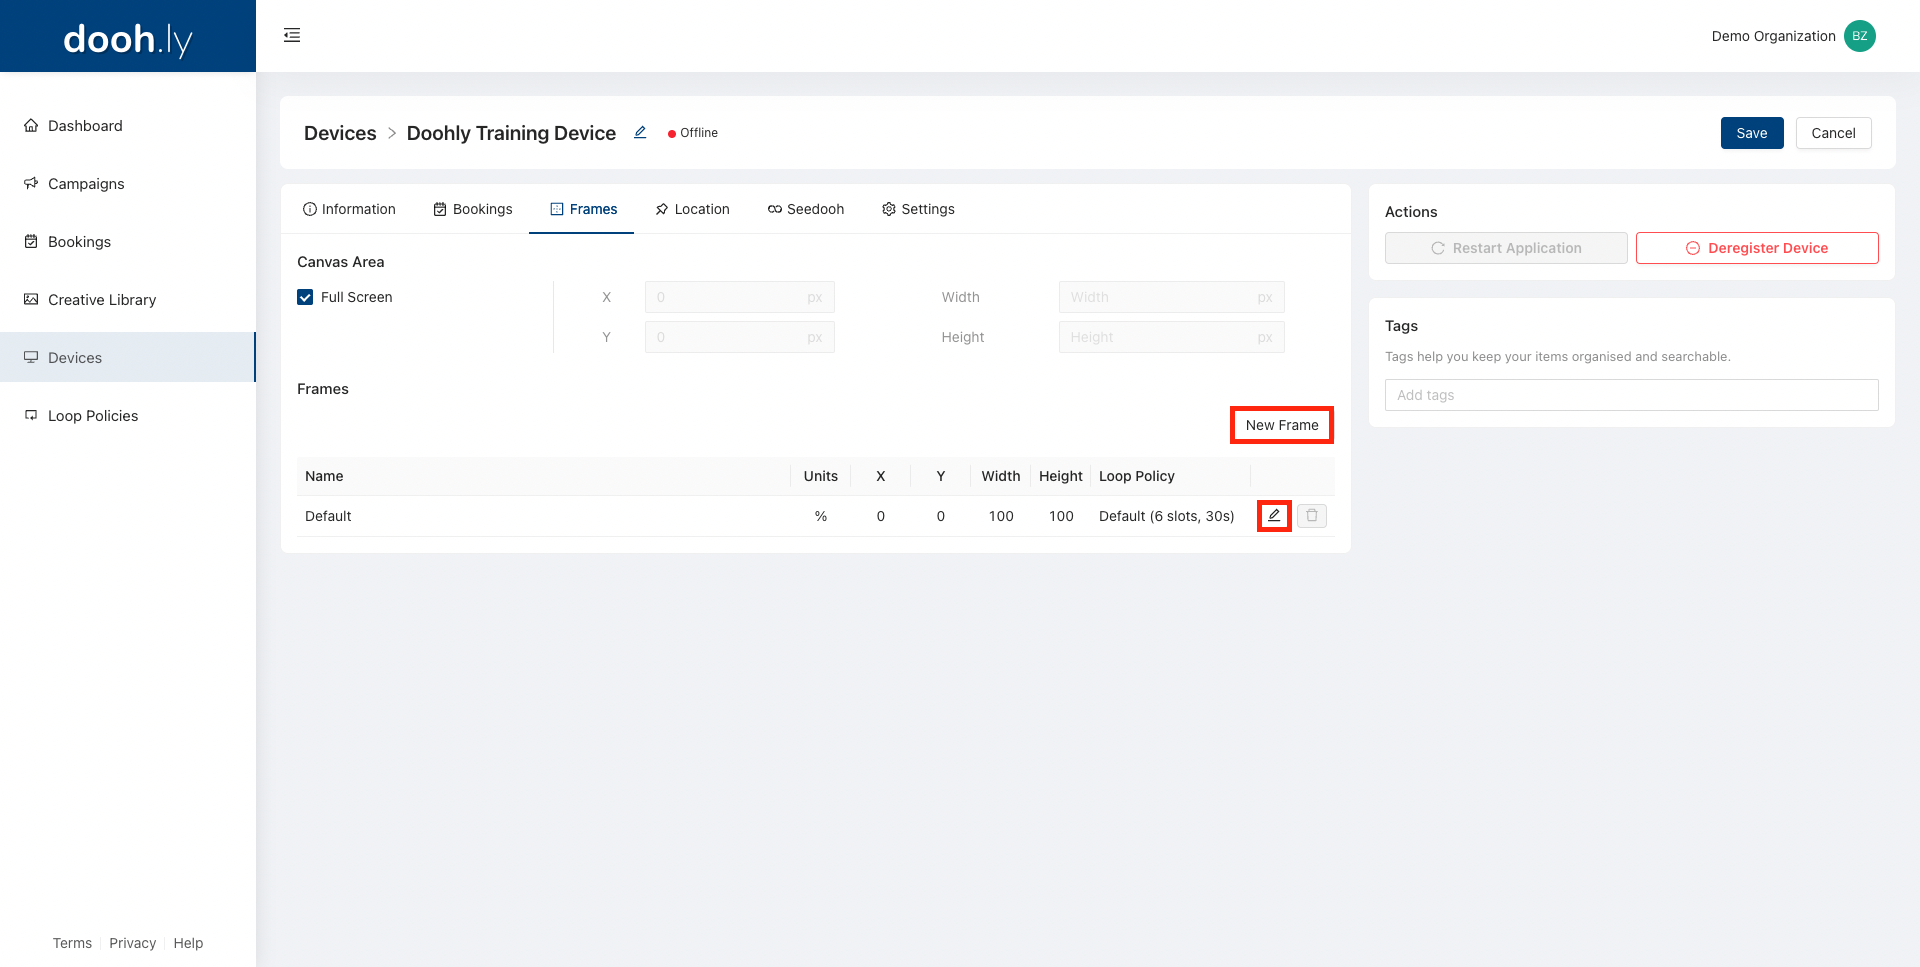
Configure Seedooh For A Frame
Both newly created frames and existing frames are compatible with Seedooh verification.
Similar to configuring Seedooh at a device level, configuring Seedooh for specific frames is done within the device settings, in the “Frames” menu.
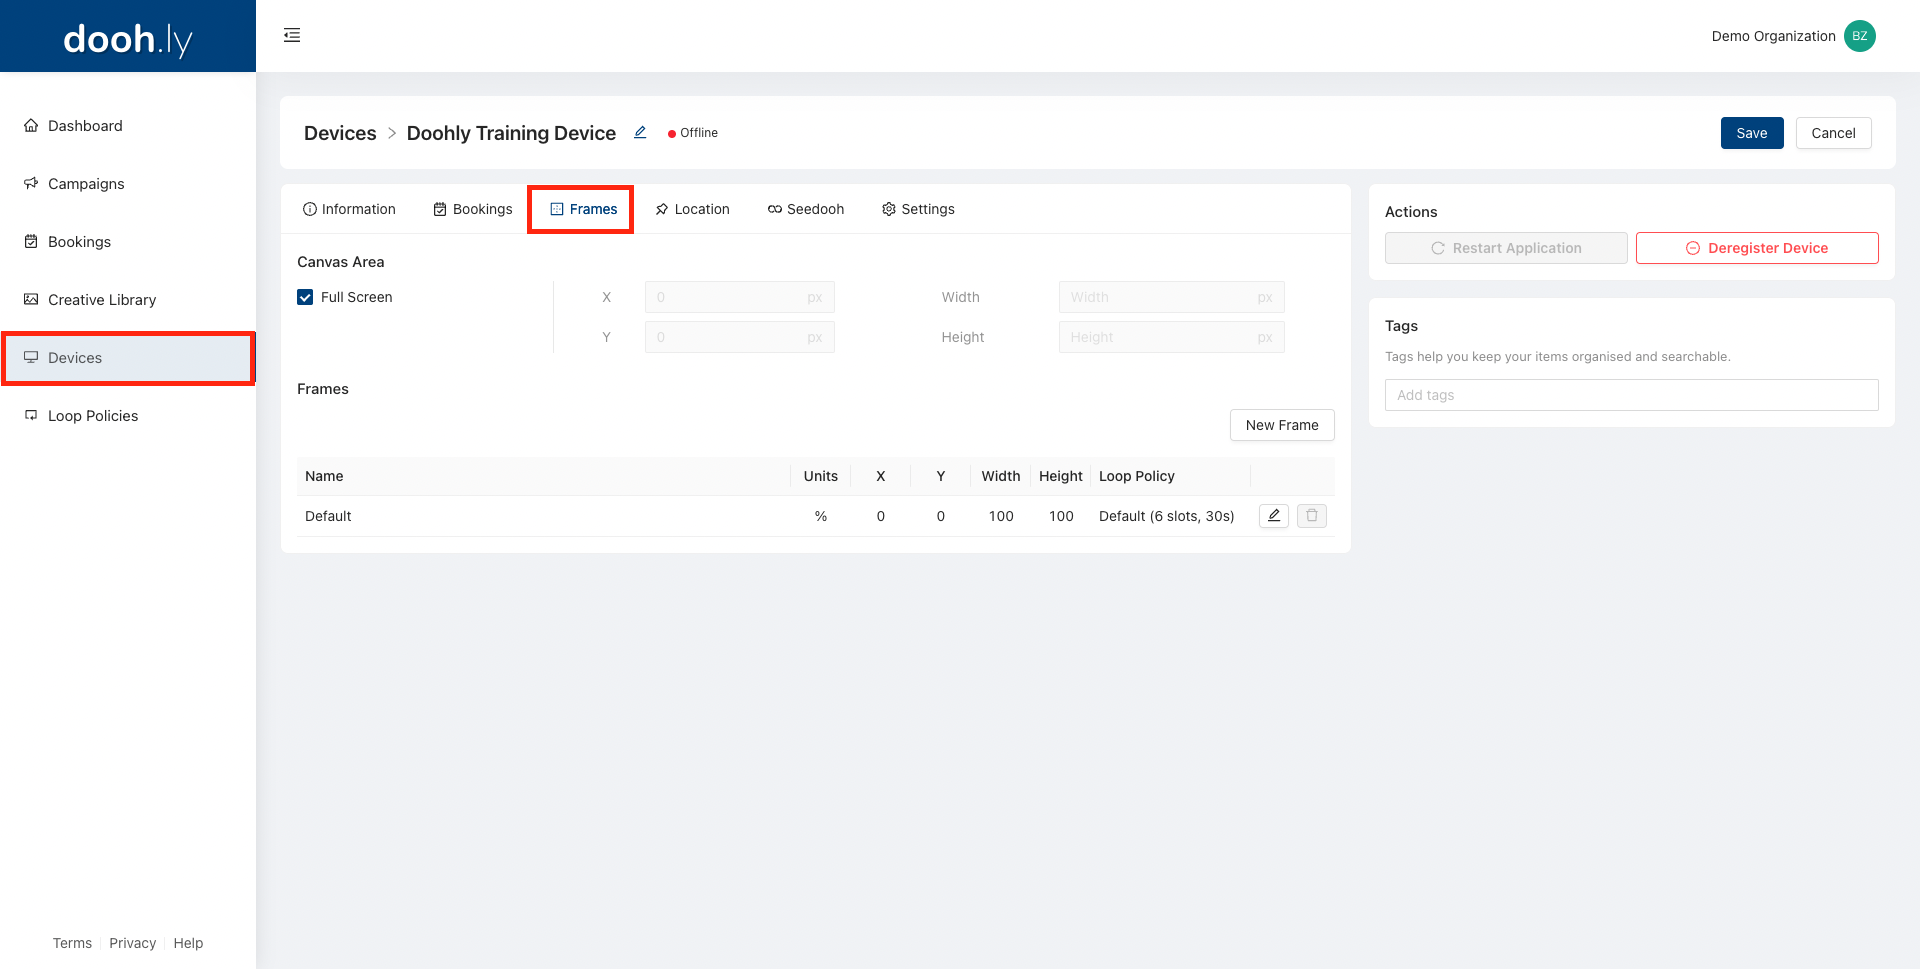
Once in the “Frames” menu, click either the “Edit” button, or “New Frame” button (both of these menus are identical).
Under the “Seedooh” section, check “Report plays on this frame” and enter the “Panel ID”.
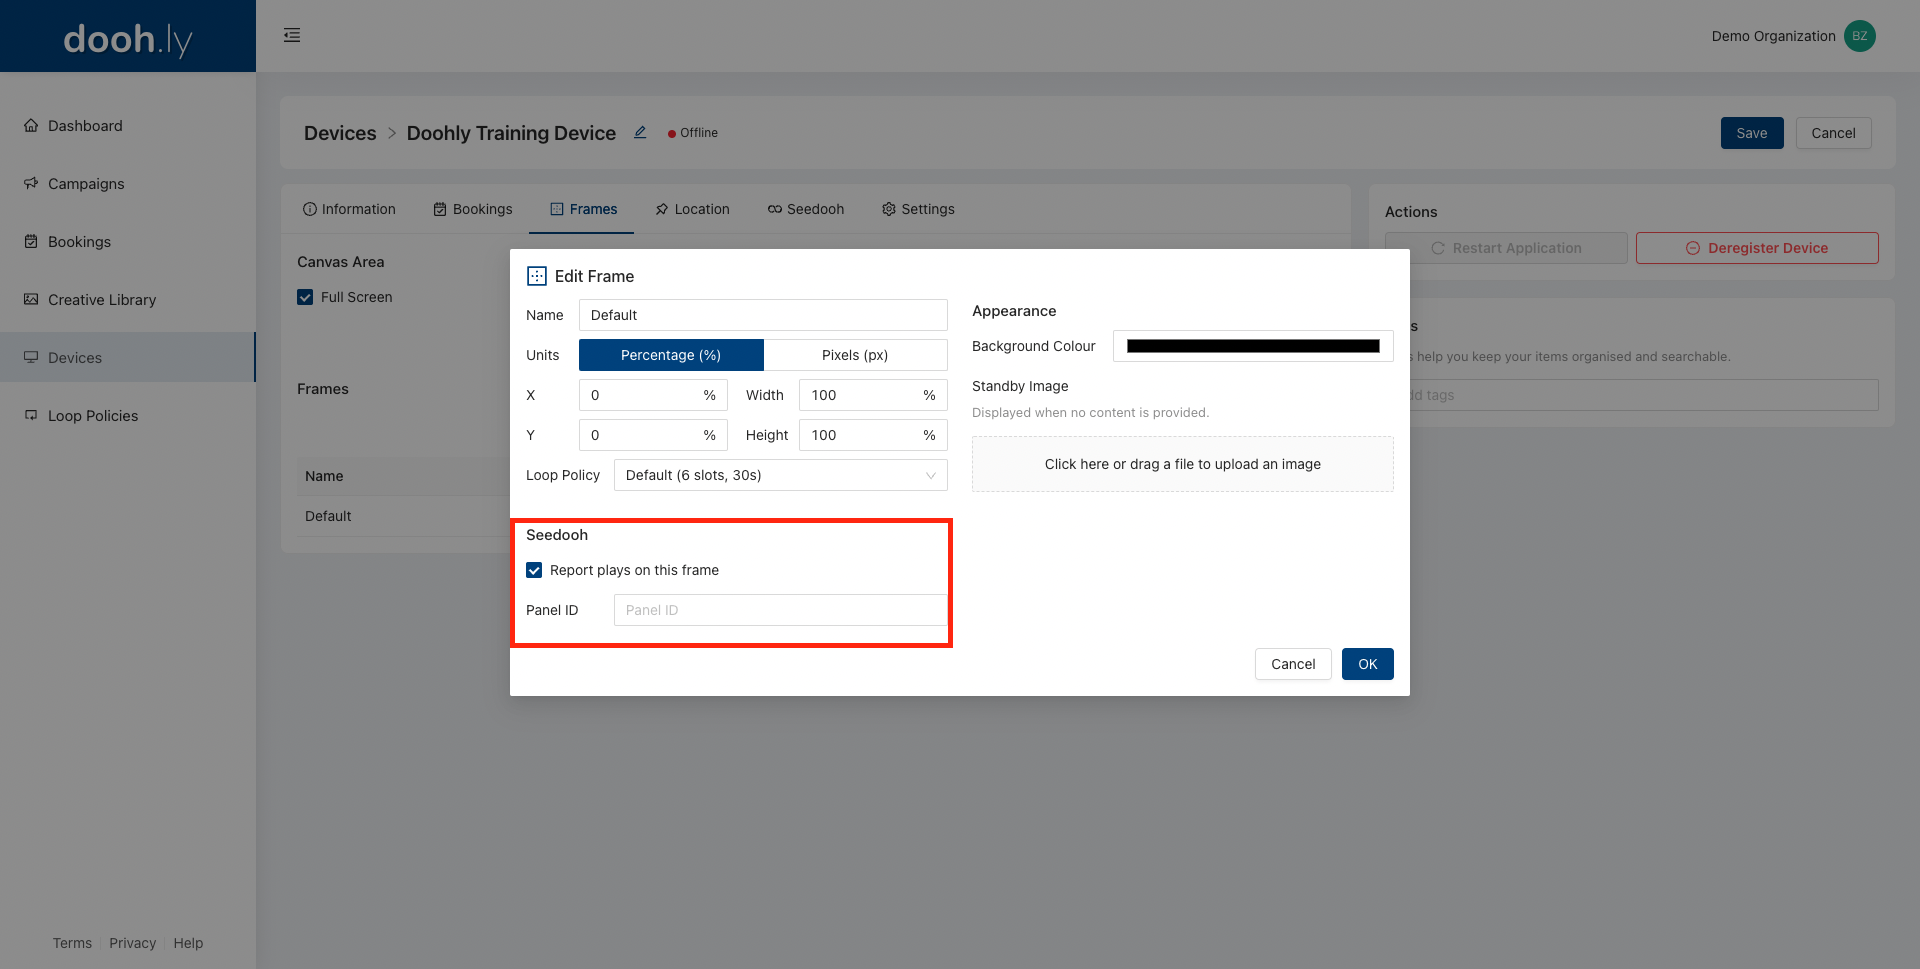
“Panel ID” is not a required field, if not set it will simply be assigned “device name-device frame” in Seedooh.
Make sure to hit “Ok” to ensure that the changes take effect.
To disable Seedooh verification on a frame, simply uncheck “Report plays on this frame”.
Controlling What Is Sent To Seedooh
Each of these assets (Bookings, Campaigns, Frames and Devices) can have Seedooh enabled or disabled without impacting any other.
For example, if Seedooh is enabled for a booking which is assigned to two different frames, one with Seedooh enabled and the other with Seedooh disabled, the plays for the booking on the frame that is enabled will be sent to Seedooh but not the plays on the disabled frame.
This enables users to only send specific data that they want verified to be sent to Seedooh.
It should also be noted that once an asset has Seedooh enabled, all previous data regarding that asset will also be sent to Seedooh.
Updated over 1 year ago